
Prep Mistakes That Ruin Interior Painting Jobs in 2026 (And the Simple Fixes Sydney Homeowners Miss)
Why Prep Still Matters in 2026
Sydney's building boom has left us with a wild mix of 1890s terraces, 1970s brick veneers and glass-heavy apartments. Each surface type holds paint differently, and the gap between a showroom-smooth finish and a patchy wall usually comes down to preparation, not the final coat. Paint technology keeps improving, but no product can cling to dust, soap residue or rising damp. It is why our professional interior painting team at Sydney Paintmasters still spends up to two-thirds of the project timeline on prep.
Skimping on this early work means even premium low-VOC paints may flake within a year, or colours can look blotchy because the substrate soaked up pigment unevenly. Below are the most common slip-ups we are seeing in Sydney homes, and the low-effort fixes that protect your investment.
Common Slip-Ups We See Daily
Washing Walls With the Wrong Cleaner
Many DIYers reach for sugar soap, but cheap formulas can leave a sticky film that fresh paint will not bond to. Kitchens are worst because airborne grease binds to that residue. The result? Crazing, a network of hairline cracks, shows through within weeks.
Sanding With Worn Discs
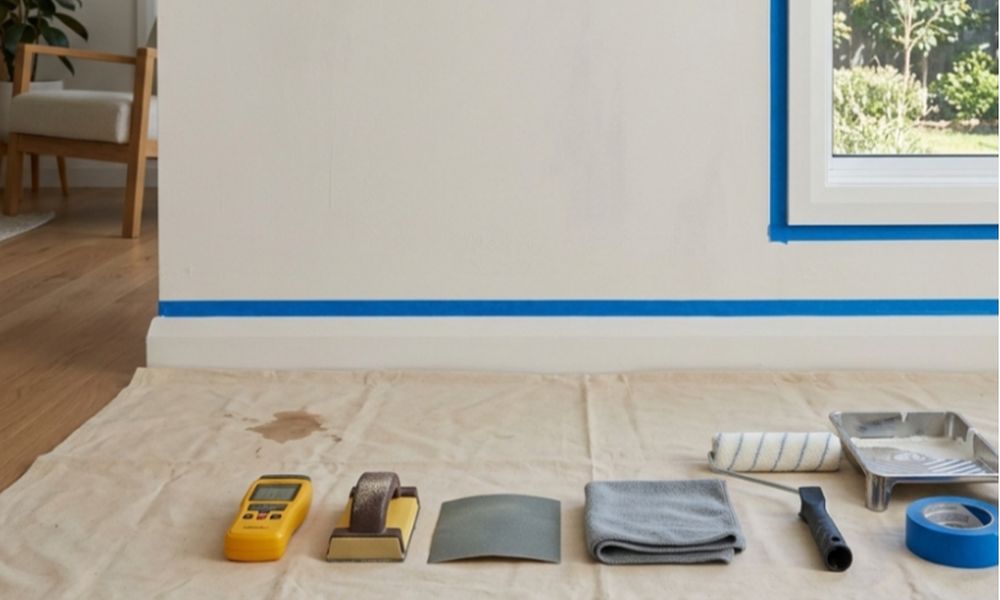
A single 120-grit pad might feel "fine" to the touch, yet if it is clogged with dust it simply polishes the surface. Paint sits on the glossy film instead of keying in, so chips appear around doorframes where bags or furniture bump the wall. Fresh discs cost just a few dollars and save hours of resanding later.
Skipping Moisture Checks
Sydney's coastal humidity and occasional seasonal flooding push moisture into plasterboard and timber trims. Paint over damp areas and the trapped water forces bubbles that look like blisters. Home moisture meters are under $40 and flag trouble spots before rollers come out.
Rushing Filler Cure Times
Quick-dry fillers promise repaint in 20 minutes, yet deeper dents need a full cure, often overnight. Roll paint too soon and the filler shrinks, revealing shallow craters that light loves to highlight.
Forgetting to De-Static New Gyprock
New plasterboard arrives with an electrostatic charge that clings to fine dust. A clean microfibre cloth wiped over the surface moments before priming prevents that powder from mixing into the wet coat and dulling the sheen.
Smart Fixes You Can Handle
Most of these mistakes stem from haste rather than skill gaps. Slow down, follow the checklist below and you will take half a day longer but gain years of extra life from the finish.
| Prep Task | The Right Way in 2026 | Short-Cut to Avoid |
|---|---|---|
| Final wash-down | pH-neutral cleaner followed by clear water rinse | Cheap sugar soap that leaves residue |
| Sanding | Fresh 120 or 150-grit discs, light pressure, vacuum between passes | Reusing clogged pads till they shine |
| Moisture test | Under 15% reading before first coat | Relying on "feels dry" touch test |
| Filler cure | Allow full manufacturer cure time, sand flush | Paint as soon as surface skins over |
| Dust removal | Microfibre cloth or tack rag just before priming | Leaf blower that scatters dust around room |
Two coats of stain-blocking primer might sound like overkill, but Sydney's sandstone foundations often bleed tannins through plasterboard in older terraces. A single primer coat rarely seals them completely.
You will find more surface-specific advice in our article on the best time to book a painting service because temperature and humidity directly affect how well prep materials cure.
When to Call in the Pros
Sometimes a seemingly simple patch hides a structural issue. Swelling skirting boards may point to rising damp; flaking bathroom ceilings could signal inadequate ventilation rather than paint quality. Professional painters use hygrometers, LED raking lights and borescope cameras to diagnose what the naked eye cannot see.
If you spot any of these red flags, bring in licensed help before grabbing the roller:
- Persistent mould stains that return after bleach treatment
- Repeat cracking along cornices every winter
- Musty odour behind wardrobes or built-ins
- Paint peeling in sheets rather than chips
Contractors can also dispose of lead-based dust safely, a must for homes built before 1970 under SafeWork NSW guidelines. DIY sanding without proper containment risks contaminating gardens and neighbouring units.
The Pay-Off for Careful Prep
The practical benefit is obvious: your walls look flawless longer. Yet there is a financial edge too. Real-estate agents report freshly painted interiors adding up to five per cent to auction results, provided the work looks professional on close inspection. Prospective buyers run hands along window reveals; if they feel bumps or see roller lap marks, the perception of "quality" plummets.
Energy savings also stack up. A dense, even paint film acts as an extra air seal over plasterboard joints, reducing micro-drafts around power points and skirting gaps. In an age of soaring electricity bills, that detail turns into real dollars over a decade.
Finally, there is health. Low-VOC paints only perform as intended when spread thinly and allowed to cure on a clean surface. Dust trapped beneath film keeps off-gassing for months, undermining the major reason many homeowners choose premium products.
Final Word
Prep is not glamorous, but it is the backbone of every crisp corner and mirror-smooth wall you admire on renovation shows. Spend the extra hours on moisture checks, dust control and correct cure times. Your future self, whether enjoying a flawless living room or securing a higher sale price, will thank you.